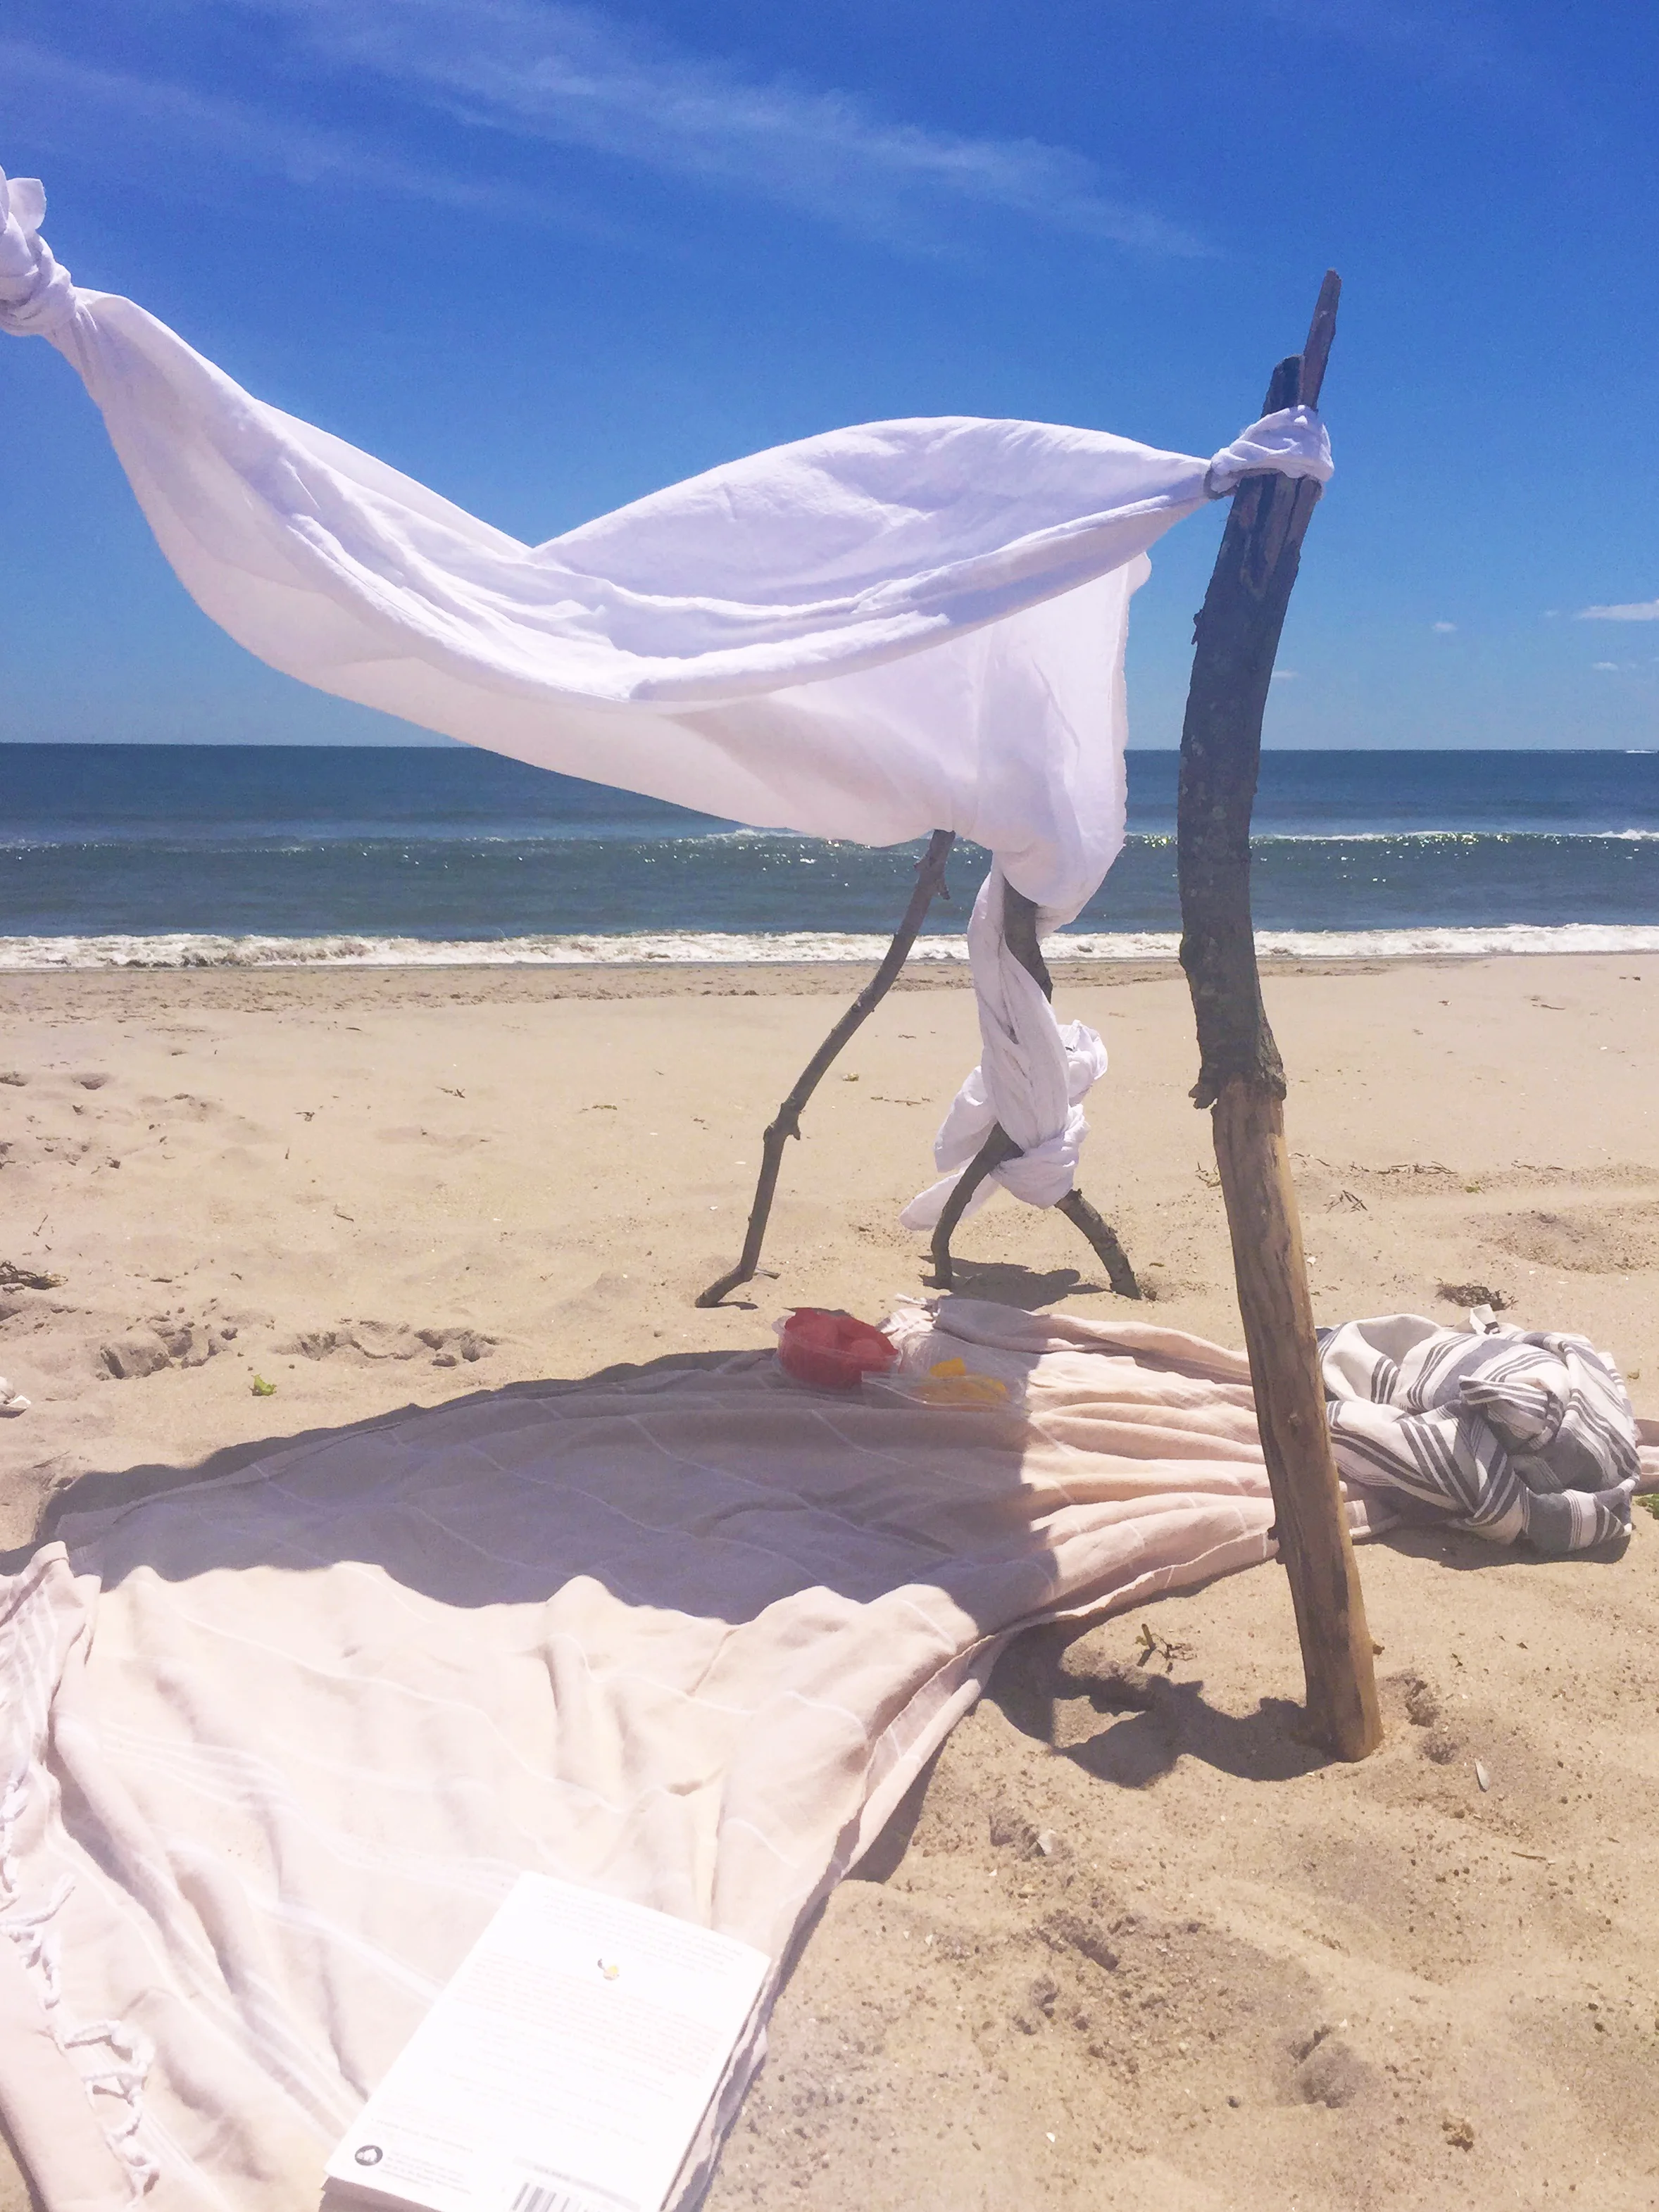
Grace Clarke's Guide to Building a Beach Fort
Here's an obvious statement that I'll state anyway: We live for the beach. We'll travel any amount of hours just to spend a few moments on an unknown track of coast, and many days we daydream of packing up our Greenpoint life and moving somewhere just a little closer to the sand and shore — Nosara, Isabela, Todos Santos... even just Far Rockaway.
But despite our devotion, we're not above admitting that even the beach can sometimes use a tiny bit of accoutrement. Not a lot, mind you, but just a few simple items to make the time spent even more enjoyable. A good book. Sunscreen. Mezcal. A beach fort.
Yes! A beach fort. So pretty, so easy. When our friend, Madewell social editor Grace Clarke, shared images of the particularly magical-looking one she made on a recent day trip to Fort Tilden, we knew we had to get her tips. Read on for her quick, seven-step guide to building what she describes as a surefire way "to turn any beach day into a cinematic moment for one. Or two." And best of all, it's nearly free.
what you'll need
4 sturdy sticks, as tall as you can find them, about 4 inches thick
Rope or twine
A flat sheet. "The lighter and larger, the better," Clarke says. "I like cheap threadbare vintage linens that I wouldn’t terribly miss if something happened." She recommends white, because, "more photogenic."
how you'll do it
1. Gather your sticks.
"You want them to be about the same height and thickness, so they stay sturdy against the wind," Clarke explains.
2. Mark holes for your sticks.
Lay the sheet out flat on the ground so you know where to dig the holes for your sticks. You’ll want them at each corner, but you'll want some of the sheet’s slack to tie. "A good rule of thumb," Clarke says, is to place the sticks "about a foot in from the corners you’ll be tying."
3. Dig the holes.
"They need to be way deeper than you think," Clarke says. "Put your arm into the hole and touch the bottom with your fingers; the hole should go up to your elbow. Keep all that dug-out sand handy."
4. Place the sticks in all four holes.
Pack them in with sand, only halfway up. They won’t be steady yet; that’s the point.
5. Tie the sheet corners to the upright sticks.
Start with one corner, and work clockwise. You’ll get the most shade by using rope or twine to tether the sheet edges to the tops of the sticks. "In a pinch, you can always use the sheet itself to make a knot," Clarke suggests. "But then you have to use a lot of the sheet itself, which means less shade."
6. Stretch out the sheet.
One stick at a time, gently push away from the center of the tent so the stick is at a slant; then, pack the rest of the hole with sand. This will pull the sheet corners taught and maximize the shade overhead.
7. Reinforce.
Wet the sand around the sticks for extra stability. "This is extra credit, but a necessary finisher for true tent connoisseurs, or anyone whose fort has ever blown away," Clarke says.
All photos courtesy of Grace Clarke. Follow more of Grace's adventures at @gracegclarke


